


Try six water-soluble pastel techniques on one practice sheet: tip drawing, broad strokes, layering, selective water activation, palette mixing and combining dry drawing with painted washes. Changing one variable at a time makes the differences easier to see.
You do not need six separate projects. Divide a sheet of wet-media paper into six areas and use a few familiar colors, a brush, water and a compatible palette.
1. Draw with the tip
Use the tip for outlines, flower stems and branches. Start with light pressure, then repeat the mark with a little more pressure. Notice how the line changes. A leaf or a simple architectural outline makes a useful first subject.
2. Make broad passages of color
Where the stick’s shape and wrapper allow, use its side to cover a larger area. Try a sky or field shape. Change the angle to compare broad strokes with narrower marks, without pressing so hard that the stick breaks.
3. Layer one color over another
Apply a light layer, then add a second color. Start with two related colors before trying a stronger contrast. Reverse the order in another sample: the same two colors can produce a different appearance when the upper layer changes.
4. Soften only selected marks
Pass a damp brush through a small part of your drawing. Leave the neighboring marks dry. This contrast lets you place a crisp branch beside a softer background or keep a clear flower outline around a wash.
5. Prepare a mixture on the palette
Use the preparation method and tools intended for your set to collect a small amount of material. Add water gradually in a mixing well, then test the mixture on your project paper. Introduce a second color in small amounts. Keep a clean well for the next experiment.
Keep shavings contained and do not blow loose material from the palette. A larger quantity is not necessary for learning how a mixture behaves.
6. Combine drawing and painting
Begin a small landscape with a light drawing. Activate selected areas with water, let the paper dry and test a few dry details over the surface. For example, combine a soft sky with more visible marks in the foreground.
Rather than blending every edge, choose one area to remain crisp. That decision gives the viewer somewhere to look.
Build a technique library
Write the color names or numbers, paper type and a short note beside each dry sample. Record what you actually did: “light pressure, damp brush” is more useful than “blue wash.” Return to these samples when planning your next artwork.
Frequently asked questions
Which technique should a beginner try first?
Start with dry lines, then brush water through half of one patch. This simple comparison shows how your own materials respond.
Can I add dry marks after a wash?
Let the paper dry, then test a light mark on a small area. The result depends on the paper and the amount of material already on it.
Do I need many colors to practice?
No. A few colors make it easier to see the effects of pressure, layering and water before expanding your palette.
Explore the materials
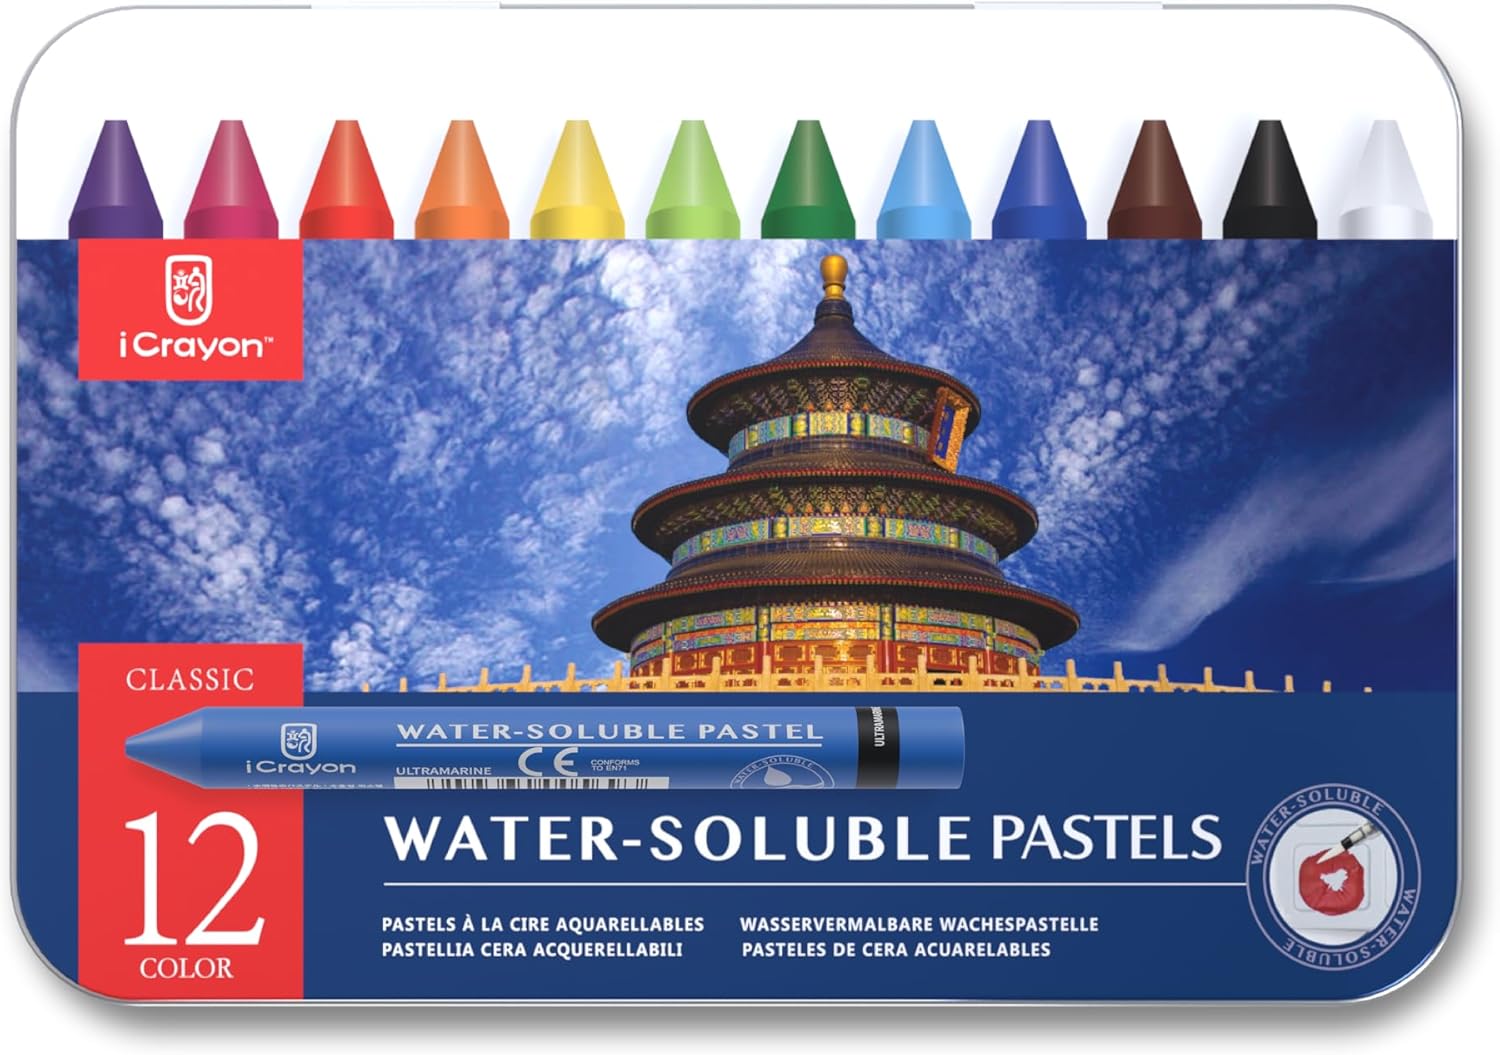
View Water Soluble Pastels for current options, contents and product-specific instructions.
Continue learning
- What Are Water-Soluble Pastels? A Beginner’s Guide
- A More Controlled Way to Mix Color with Water-Soluble Pastels
By iColorLab Editorial · Published September 7, 2026. Product options and instructions may change; check the selected set before use.